
"A Hello" - illustration by Dex

 Remember what I said in the last blog? The flag with the text created in the last class, 


that gave me an idea for my next illustration. So I started with a similar box of colours to create the art I was visioning. 

         
My idea was to wrap the boxes and clone them and place each other upside down to make a 'perspective view'. And then draw a girl and a guy sitting inside the box minding their own business while their pets being social. Might be the start of a Hello. 


This was the sketching process. Of course not the initial concept sketch. That one is way too gibberish to understand. 


After colouring, it would look better I promise. 


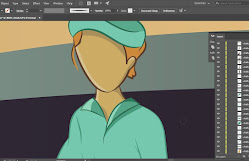
After colouring and shading, the task was to create their pets. A furry dog for the lady and a brown bigger doggo for the guy. The concept was kind of like this.


Now, to bring them to lively dogs, colour and shades were given.


How did I forget to draw the dog belts. After expanding the drawings, it was hard to fix and draw belt on them. Probably when I will become a pro, I might do it better and in an easier way. But this was what I did.


Then I was done with the artwork and uploaded it to my pages. However, for my DexLearningSkillz Insta page, I changed the background a bit. Took away the box of colour and added a simple background with a park bench. 
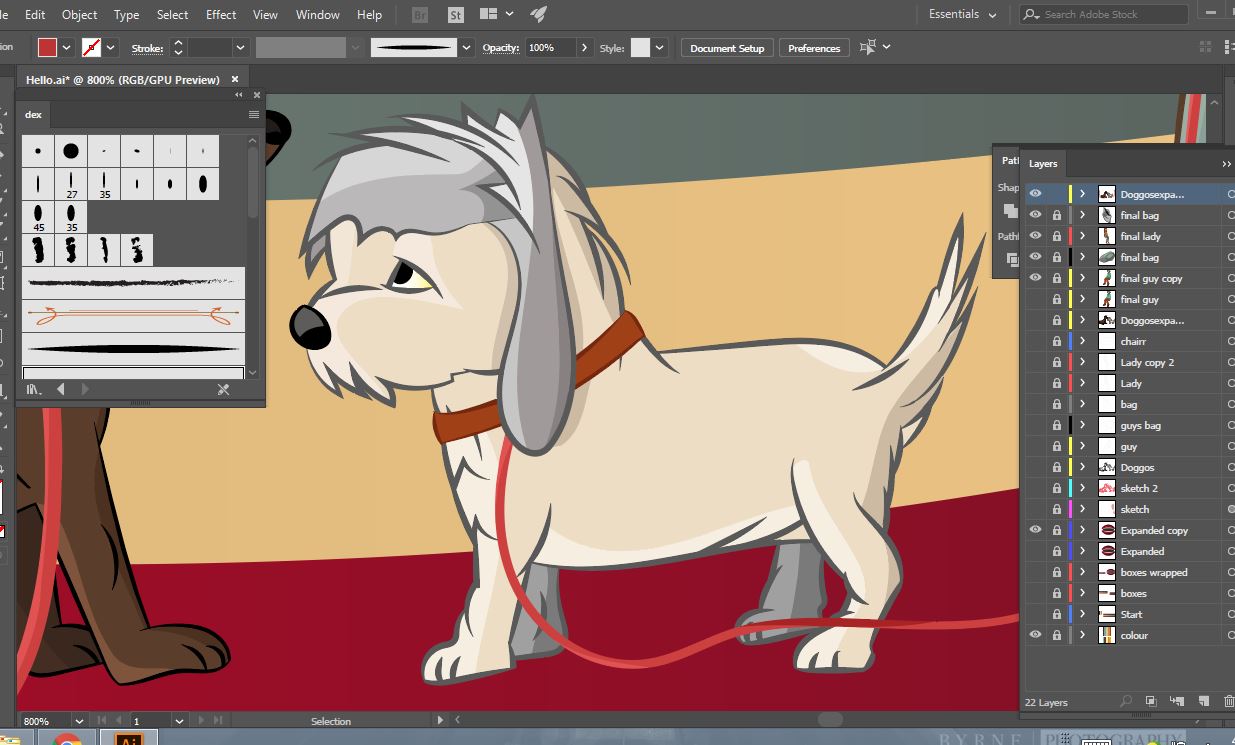
I was not sure which one should I upload so I uploaded them both. 

You can see the final versions here:
1st Version
Which version do you prefer more? Let me know! 

Comments

Popular posts from this blog

Learning Illustration: 5 : Envelope Distort

I was supposed to write this on 14th June. These past two days I didn't get time to do anything nor to write this. I found a Logo contest from IGG very late and the deadline was on the 16th. I made 4 logos and 3 slogans in different formats in the two days. Was such hectic. I'll write about that in the next blog. For now, I shall write what I learned in the last class of  Envato+ on the 12th and 13th of June. It was all about Envelope Distort which can be found on the left side of the Illustrator in the toolboxes. First on texts and then on objects. These tools are so unique and interesting. The first was being Liquify. I mean warp which can be used to give the effects of liquify.                             You drag the text downward in a manner how a liquid would behave.  Cool Ehh? The next tool was Twirl. Man, this is a live drilling machine of Illustrator. As you hold the effect, it keeps spinning and a...

Learning Illustration with YouTube: My Journey in Adobe Illustration : 1

So I have been making some logos for a while now. But it's incomplete without learning to make it the proper way. And there comes the Vector Art. Installed Adobe Illustration. Had to go for the cc6 version as my pc runs on win 8.1 and the newer versions require the pc to be on windows 10. (God I hate win 10).  So later I came to the realisation that the cc6 and the older versions are incapable of turning the corners of an object to rounded ones. One must copy the shape, transform it to a rounded cornered one from the drop-down window, use the tool "Slice" and replace the target. If it's going over the head for some people, bear with me, please.  I had to install the newer version cc 17. I think that is the latest update as far as it doesn't ask you to have your windows upgraded to 10 but it comes with a new feature. The 'rounding corner option' introduced from this version turned to be a saviour and let you bypass all the 'to-dos' tasks mentioned e...